Hello everyone.
Today I am sharing a little step by step tutorial on how to create a partial cut with your dies. I love this technique as it gives your projects just a little bit of something extra and you can keep the design really simple just like I have.

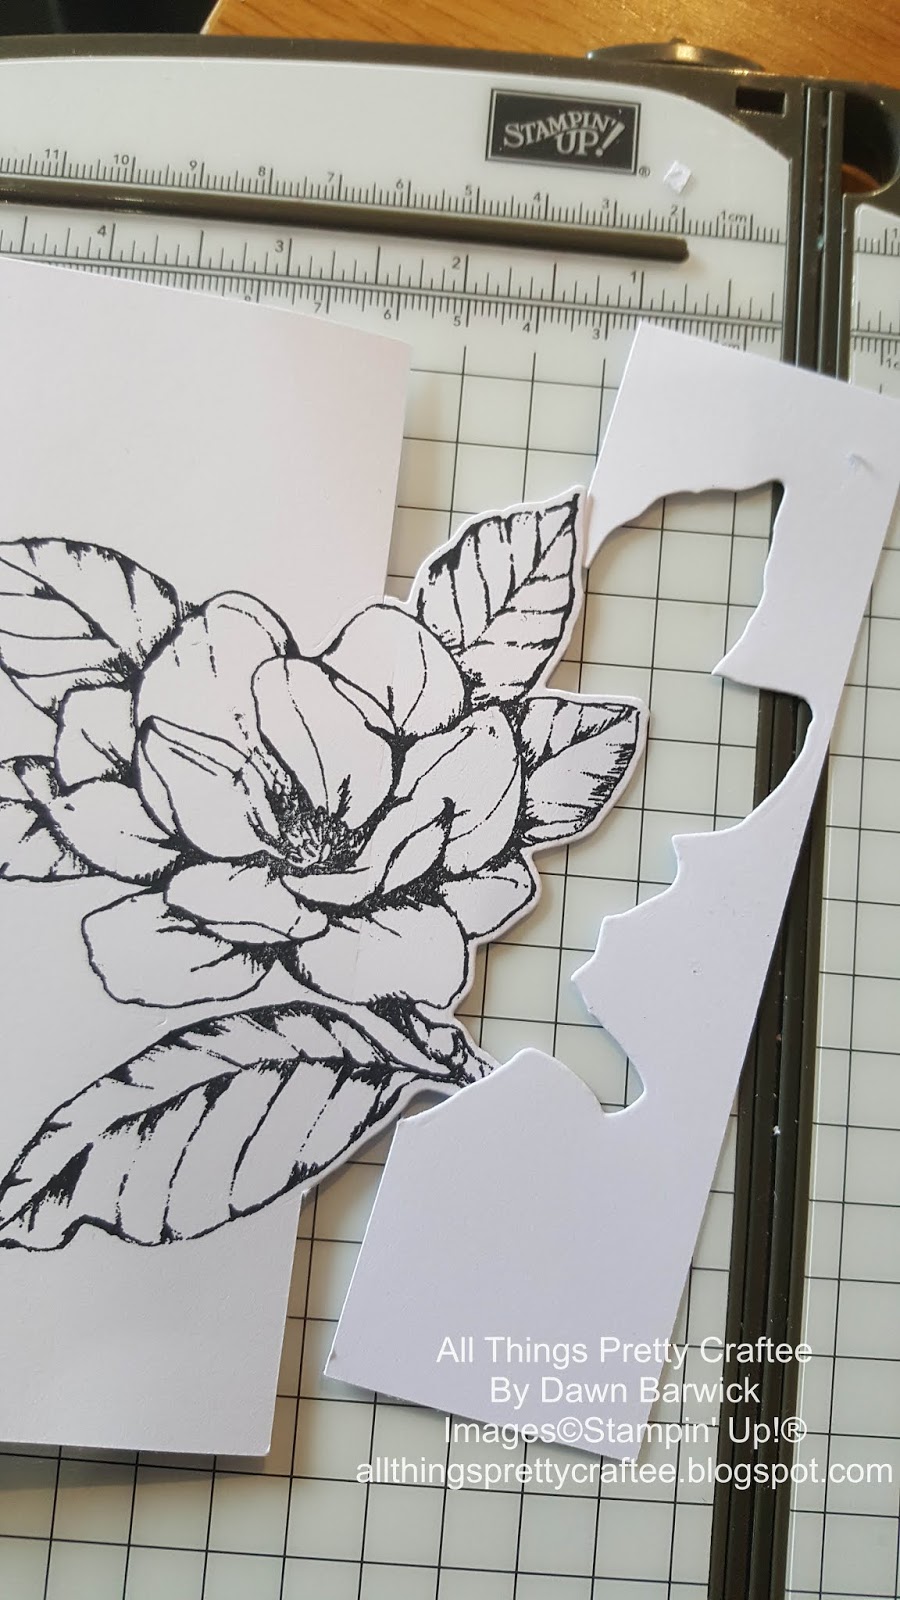
I used a small card blank and stamped directing onto it using the large magnolia flower stamp. The Stamparatus was great to use in order to line the stamp up.

Next I used a little bit of tape to hold the die in place so it didn't move when I passed it through my Big Shot. If you have a magnetic place you can use that.

Next I made my sandwich for the big shot but I only placed the top cutting plate where I wanted the die to cut which was along the outer edge. Be careful to line your plate up straight. I then passed this through my big shot.

You can see in the photo where the image has been cut.

Next you need to cut away the top and bottom of the image. I used my trimmer to do this so I got a perfect straight cut.

If you don't have a trimmer you can use a craft knife and a metal ruler
Now you can colour your image and decorate your card. I used stampin blends to colour the flower and I added a stamped greeting.

I just let the flower do all the talking and felt like clean and simple was the best way to show off this technique. I hope you will give it a try and thanks for stopping by today.
If you wish to place an order just add me (Dawn Barwick) as your demonstrator.

Before you start shopping.
Click on the top of the screen "Find A Demonstrator".
Then "Find My Demonstrator"
Add my name in the box along with the country which is France.
Then click "Shop Now"
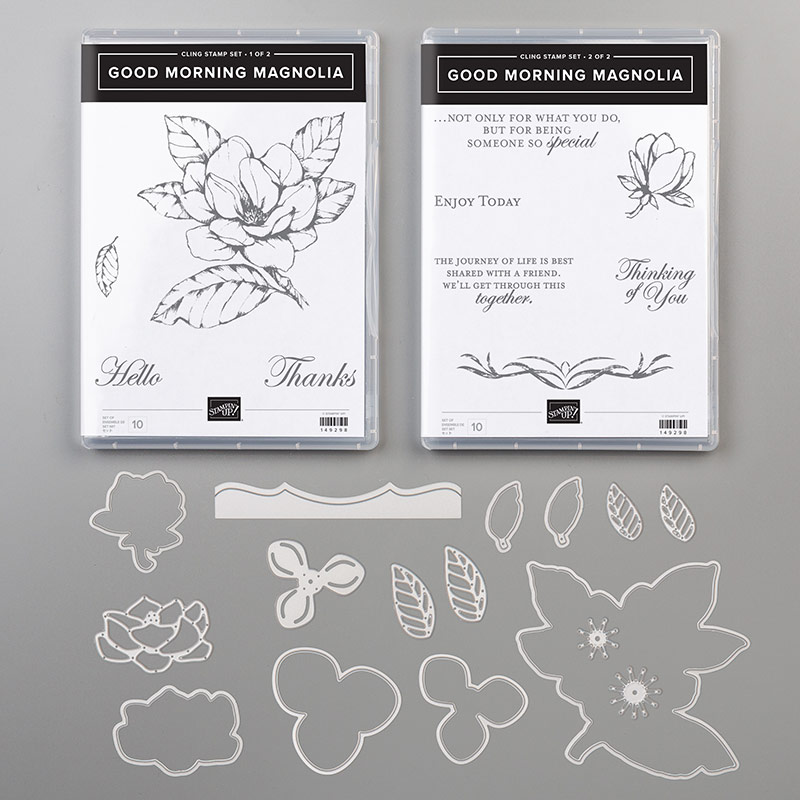
Products Used


No comments:
Post a Comment