Monday, January 1, 2018

Hello 2018

Happy New Year Everyone!!!

 
Today I am sharing my first card of 2018 and I have made my favourite, a shaker card.
 
 
I started with my base card and normally I would pick white but today for a change I went with grey.
 
Next I cut a square of grey card stock and die cut several hexagonal shapes to make my shaker part. I then added a piece of plastic and created little frames (about 6 layers) to stop the tiny star sequins from falling out.  I also glued some black and gold foil card to the inside. 

 
I added a few die cut stars and enamel dots for decoration.


I then added a die cut greeting in black and made a drop shadow in silver glitter card.  I die cut the numbers from gold glitter card.  This could be a New Year resolution for me and maybe I will start to use coloured card blanks.  I love the grey with all the sparkle.
 
Here is a list of the products I have used to create this card:
 
 
Thanks for stopping by today and I wish you all the very best for 2018.


Monday, December 25, 2017

Merry Christmas


I just wanted to wish all my followers and readers of my Blog a Merry Christmas and a Happy New Year.
 
Thank you for making my year full of crafty fun and I look forward to seeing you all in 2018.
 

xXx
 

Friday, December 22, 2017

Anything Else For Christmas

Hello Everyone.
 
Eek we are very excited in this house.  Its the last day of school before Christmas.  Is everyone ready for Father Christmas?  I know I will have forgotten something so its a good job the shops here in France are open Christmas Eve morning just in case.
 
As its Friday its challenge time at Daring Cardmakers.  This is the last challenge for the year and we will return on January 12th with lots more inspiration.
 
So this weeks challenge is "Anything Else For Christmas" 
 
We've shared  cards, boxes and tags, so this week lets see what else we make, or arrange for Christmas.  Share your sewing projects, Handmade Decorations, Table centres, Crackers, Other home décor
 
 
I made these sweet little gingerbread houses using a die and stamp set from Stampin Up called Home Sweet Home.

 
I die cut and stamped what I needed to make these little houses and then started to assemble them.  I made a few to sell at my daughters school Christmas fete and I filled them with mini chocolate father Christmas.  I made them so the roof opened and you could also hang them in the tree.
 
I can't wait to see what you make and please stop by the Design Team blogs over at Daring Cardmakers.
 
And finally have a very merry Christmas!!!
 
xXx


Wednesday, December 20, 2017

Celebrate The New Year

Hello Crafters.
 
 
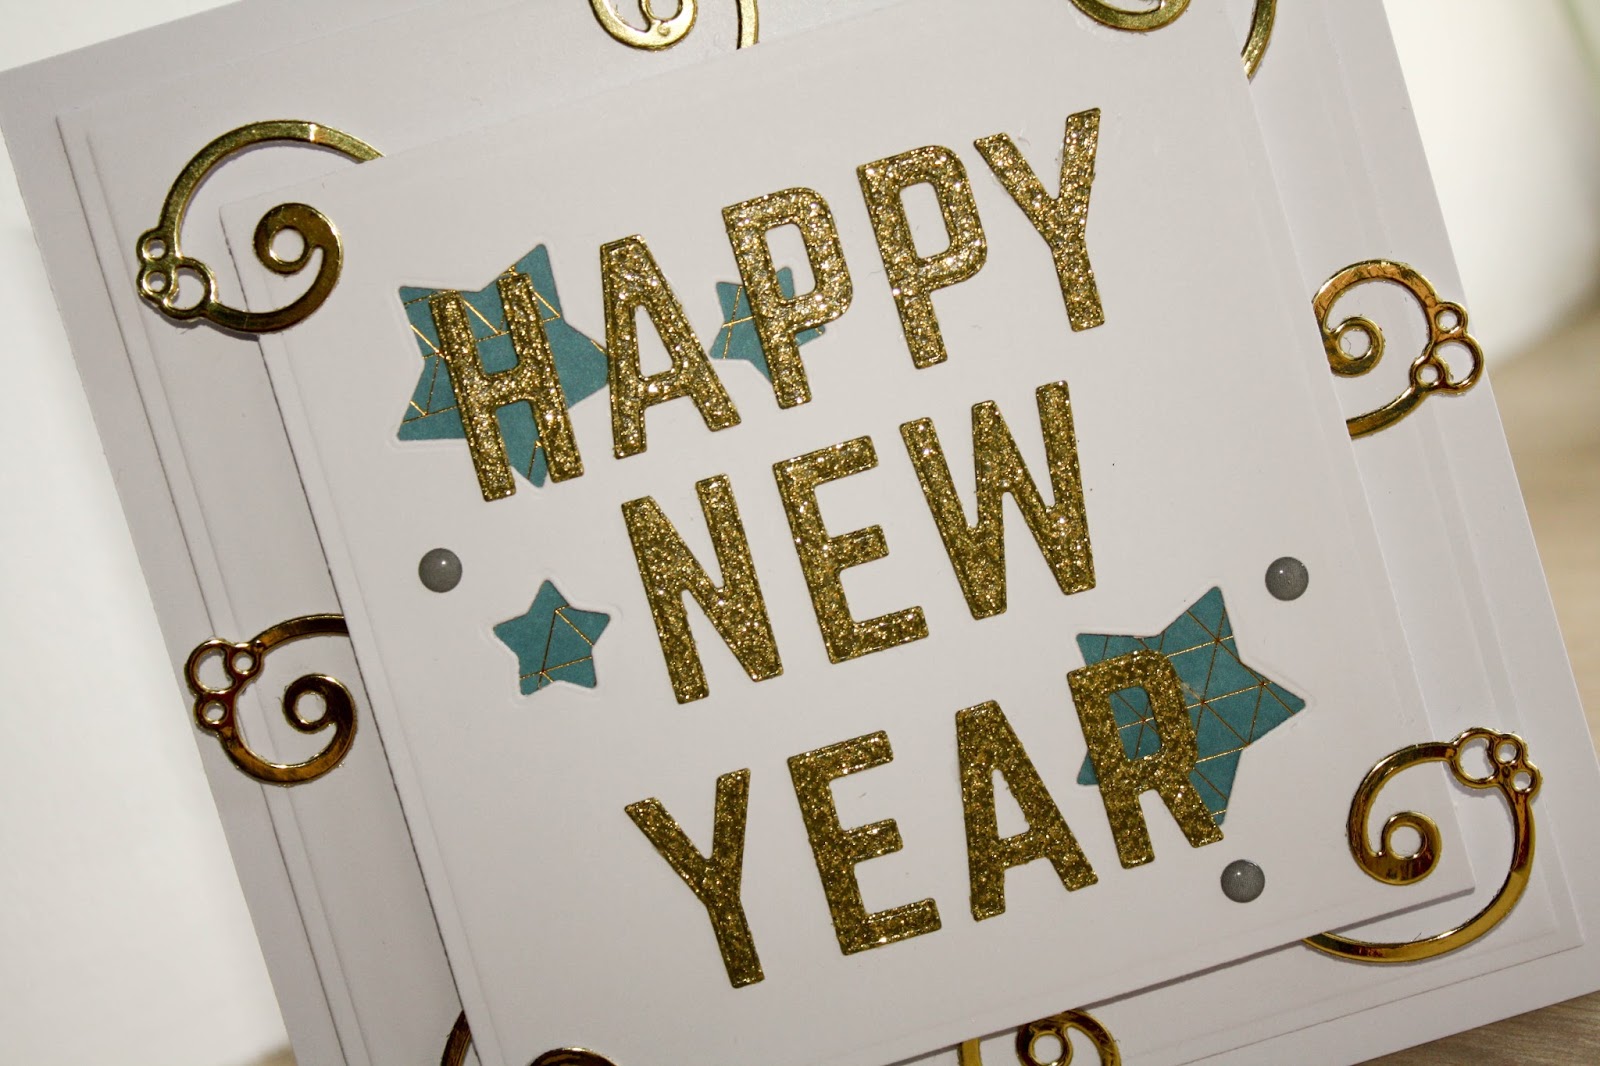
As we are about to enter the New Year I thought I would make a card to celebrate.
 
I think I am just about done with Christmas and I am actually looking forward to making other types of cards in 2018. 
 
 
I recently bought a fabulous Alphabet die set from Spellbinders and wanted to make good use of it.
So I decided to make the greeting the focal point of my card and cut the letters from gold glitter card.

 
I cut a square piece of white card stock using the 6X6 matting basics from Spellbinders.  I then die cut some stars out of the square using the star dies from the Galaxy Card Kit and added a square of the designer paper from the kit to the back.  I then added my letters to the front and added a few enamel dots.

 
I then used the swirl dies from the Galaxy Card Kit and cut these in half and added them around the edge.
 
Thanks for stopping by today and have a lovely day.


Monday, December 18, 2017

Bubbly Funk Through The Letter Box

Hello All,
 
Today I am sharing my little thank you box which I created using the contents of the "Seeing Stars" box from Bubbly Funk.


I wanted to create something for your party tables as a thank you to your guests or just to say thank you for that special gift.

 
I made a little box from gold mirror card and added some of the die cut gold stars and this lovely ribbon from the "Seeing Stars" kit.  This ribbon is lovely.  Its sort of a two tone ribbon in gold and silver. 

 
I then used a couple of die cuts from my own crafty stash as all the kits from Bubbly Funk work great with what you already have.

 
I used the Shapeabilities Simply Said Phrase Two die set from Spellbinders for the thank you.  I cut this out several times from white card stock and glued them all together and then cut a final one from glitter card stock.  For the little frame I used a die from Galaxy Card Kit also from Spellbinders.  I cut this from silver mirror card.
 
Thanks for stopping by and please check out the blog at Bubbly Funk to see more beautiful ideas from the Design team.

Tags With My Stash

Hello Bloggers and Crafters.
 
A few weeks ago I went to a tag making class and when I came home I was feely very inspired.  I had a rummage through my craft stash to see what I had to make something similar.  So I got out my Spellbinder Dies to see what I could make.

 
I started with a kraft coloured tag and I added some white ink around the edges and to the bottom to look like snow.  I then stamped some trees in the background.
 
I used this beautiful die from Sharyn Sowell at Spellbinders called Fa La La.  I cut this from black card stock and added this to the bottom of the tag. 


I then stamped the greeting at the top in black which is also from Spellbinders.  I then watered down some liquid pearls and flicked this all over the tag to look like falling snow.

 
I also added a few sequins and the little hope ticket was from Novembers Through The Letter Box from Bubbly Funk.  I had the little pine cone in my stash so I just added a little white ink to it.
 
Thanks for stopping by today and please check out the website over at Spellbinders for more details about the die and stamp I have used.


Friday, December 15, 2017

The Special Cards

Good Morning.
 
Its back to cards this week over at Daring Cardmakers.  This time the challenge is to make a special card for that important person in our lives.
 
My daughter loves emoji's so I had to make a special card for her.
 
I decided to make a Christmas emoji tree.

 
To make my tree I used the Die D-Lites Emojis from Spellbinders.  I cut the faces from gold glitter and mirror card and the backgrounds and features from a mixture of festive card stock.

 
I then arranged them to look like a tree.  I also added a star to the top which was a die cut from Lets Party Shinnng Star from Spellbinders.

 
I also included a bow from Die D-Lites Candy Cane Set and the sentiment is from the Die D-Lites Ho Ho Ho set and both are available from Spellbinders.
 
I love how lots of different sets all work together on one card.


I then made the background simple by just adding some spotty paper in festive colours.
 
A fun card for any age.
 
Thanks for stopping by today and please stop by the Design Team blogs for more lovely inspiration.
 
All the dies I have used today can be found over at Spellbinders.